Why geometric shapes?
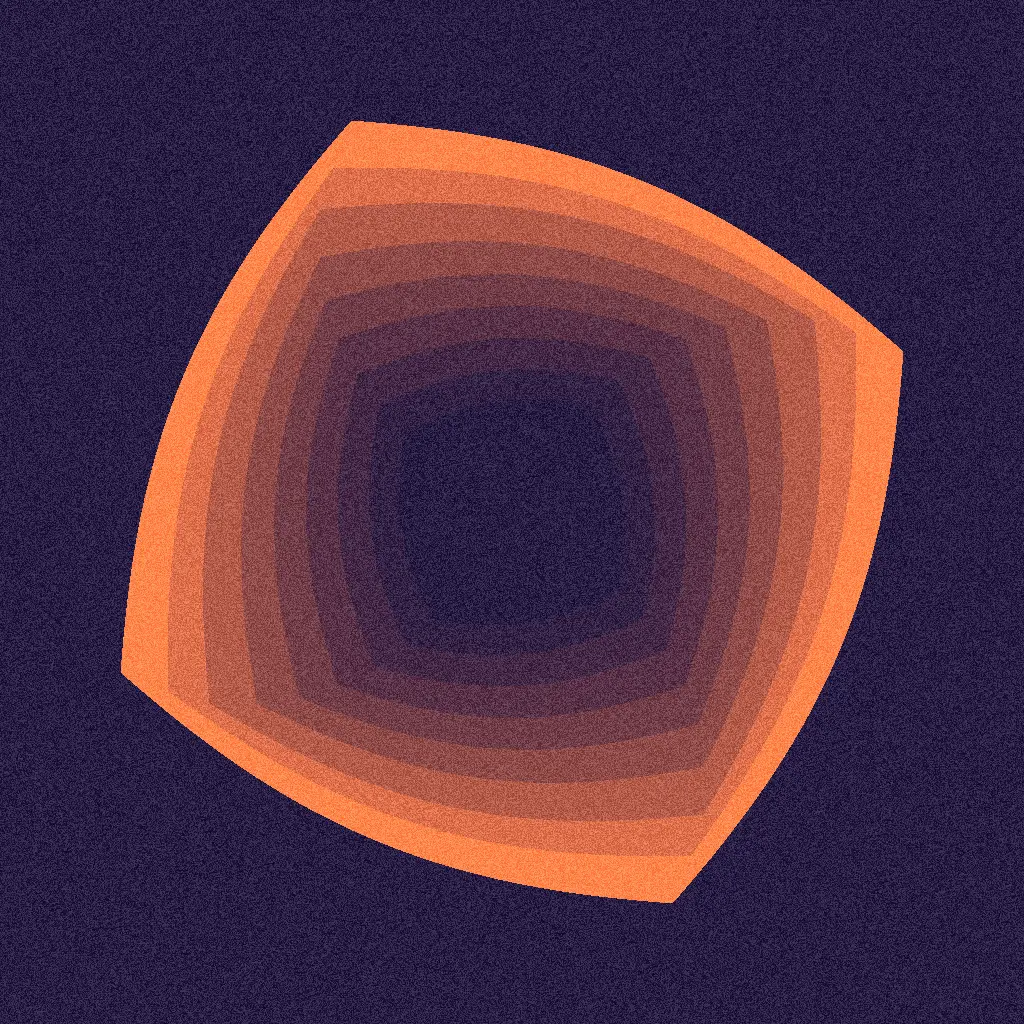
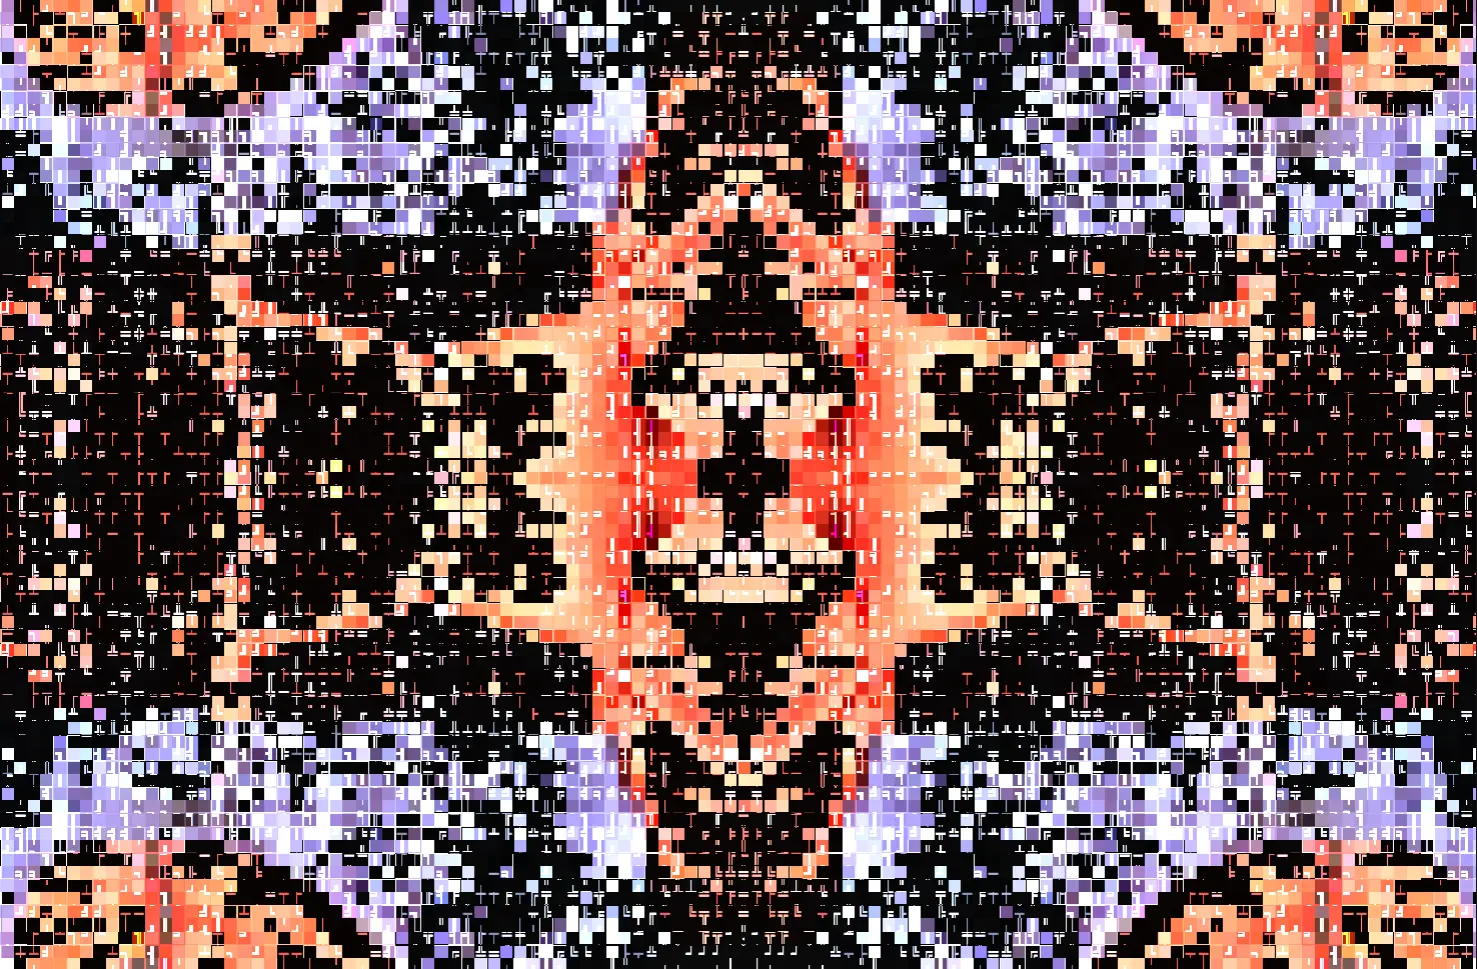
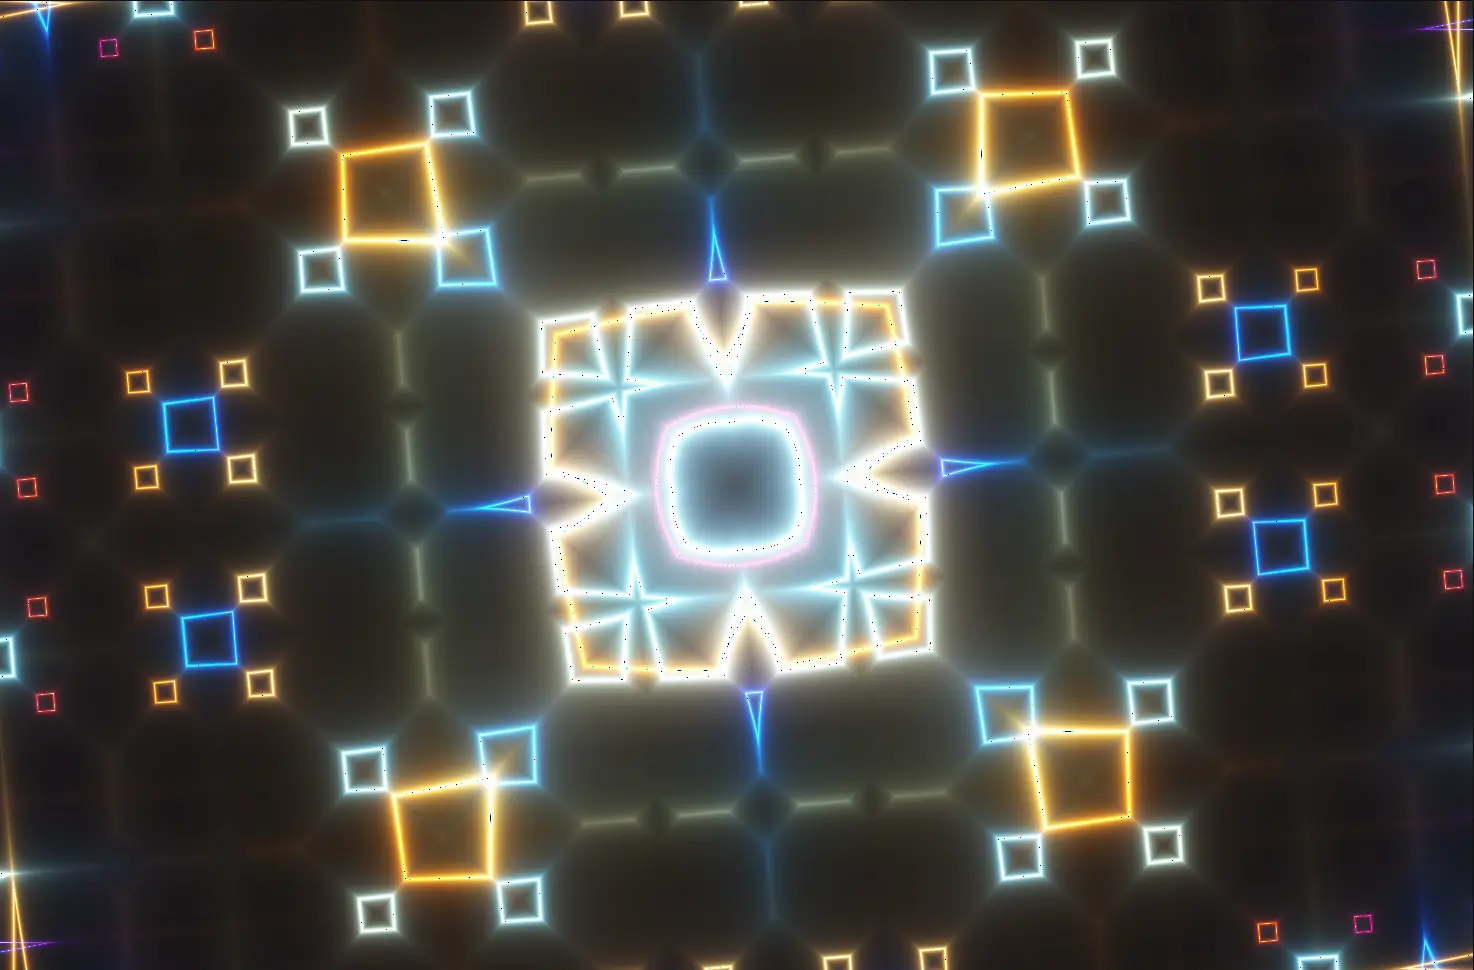
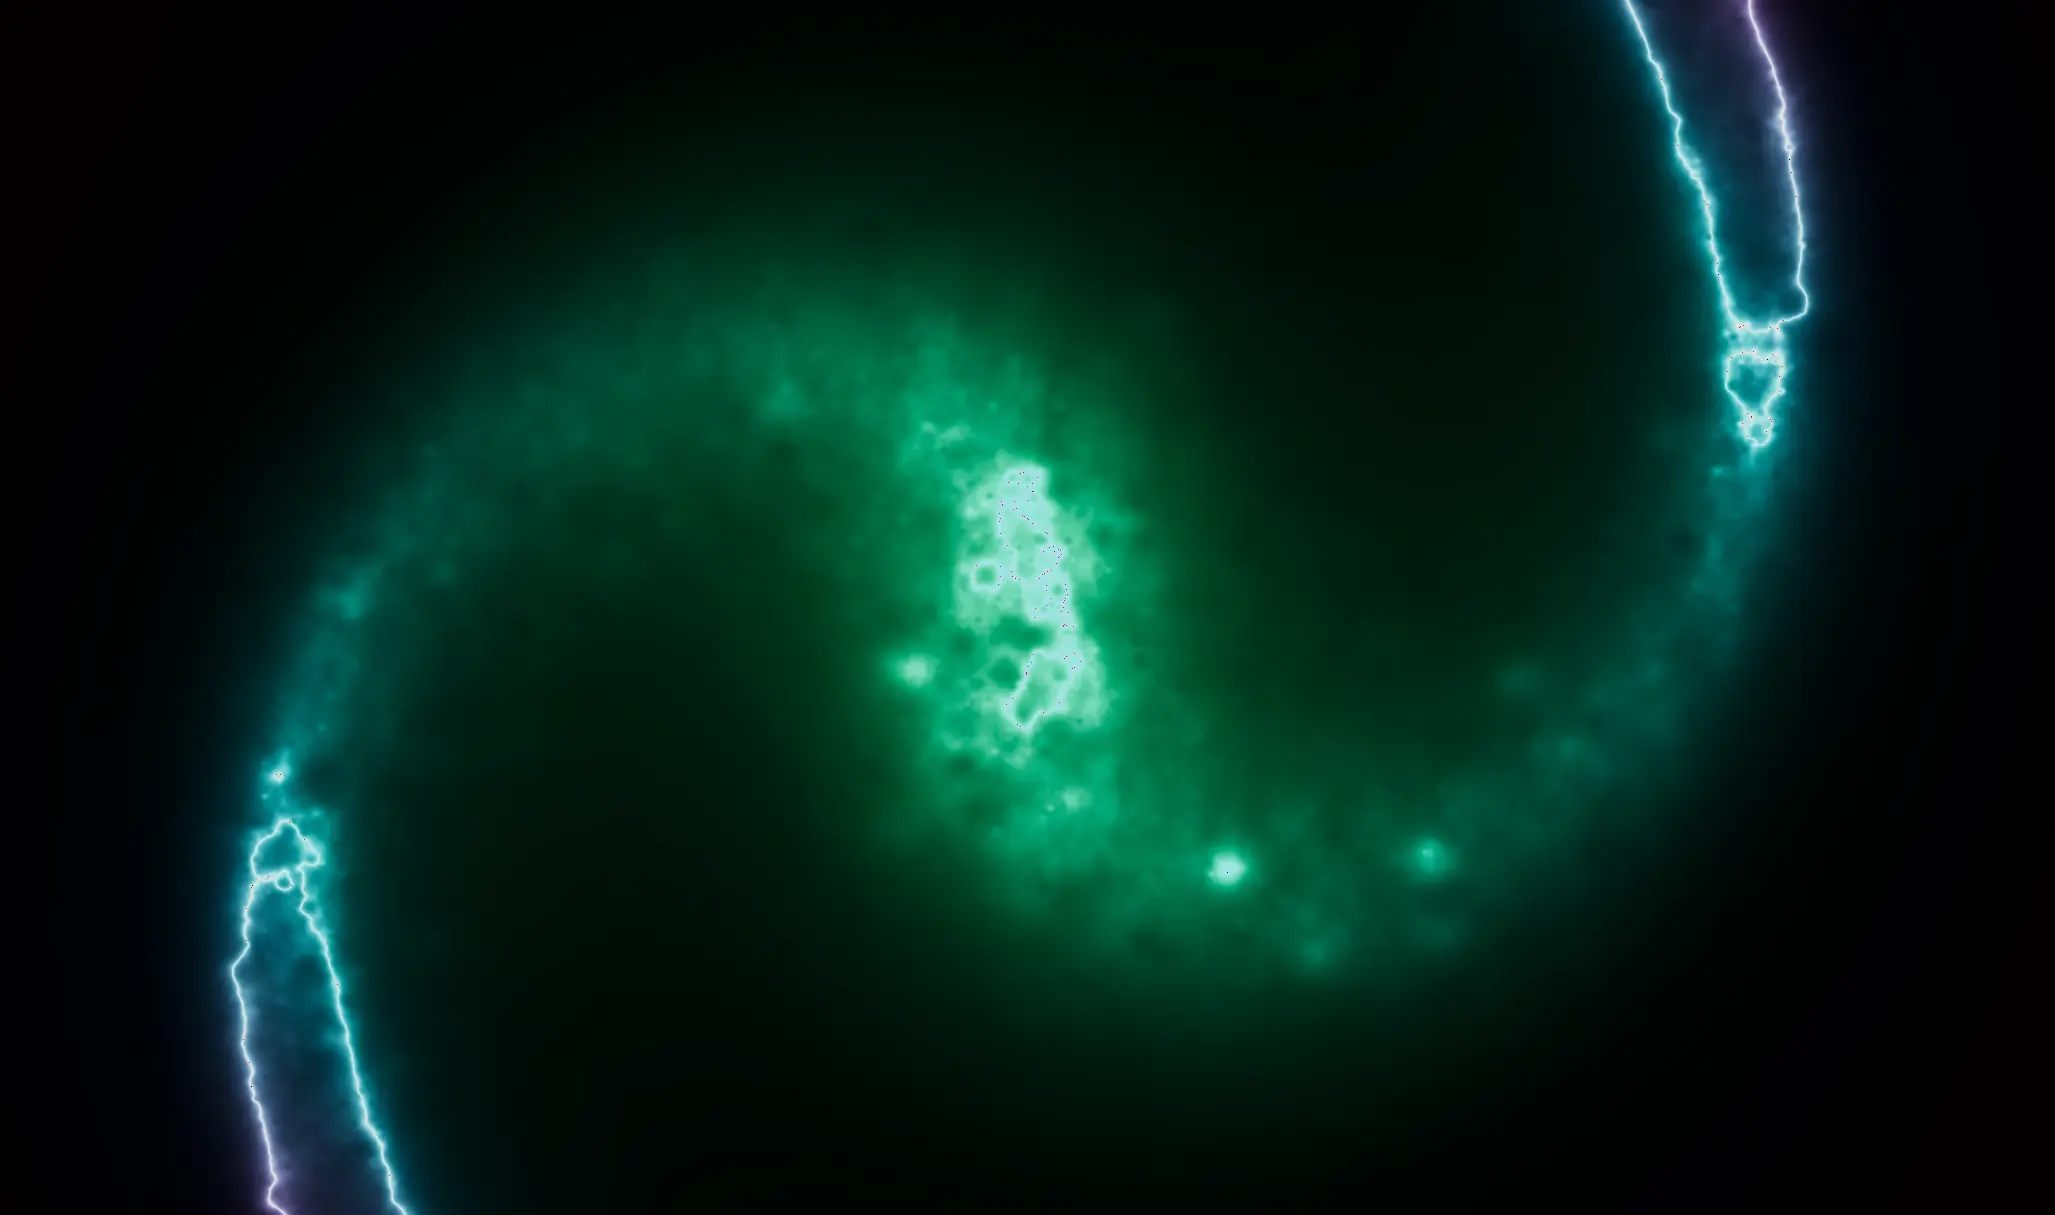
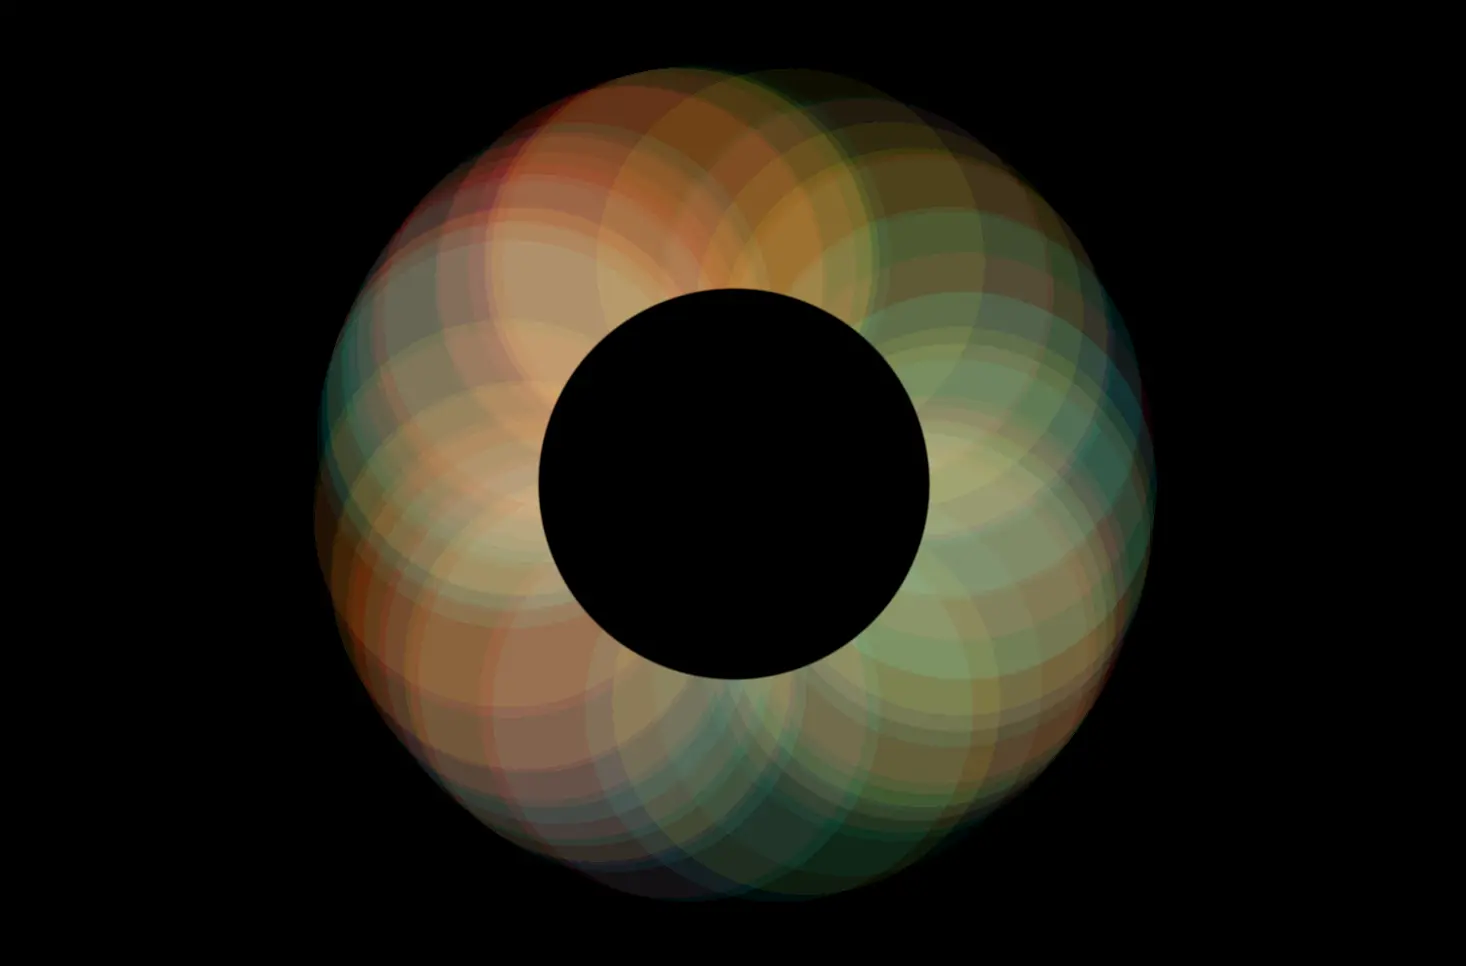
Geometry manipulation is one of the foundational tools that a creative developer can use to create interesting and unique effects. When you first start out working with shaders, it can be really difficult to understand how some of the more complex effects are created. There are obviously some absolutely incredible examples that use some more advanced tech, but often you can achieve some really amazing results by breaking things down into smaller, simpler parts.
With this technique, we're going to focus on creating:
Complex geometryby combining simple primitives and volumesRepeating patternsthat can be used to layer with other techniquesMasksandclippingeffects with shapes
Fundamentals
My favourite way to create more complex geometry is to take what are called Signed Distance Field (SDF) functions and combine them with different mathematical operations. An SDF essentially defines a shape by taking each point in space, and representing the distance to the nearest boundary, or shape.
A negative sign (ie: below 0) indicates a point inside the shape, and a positive sign (ie: above 0) indicates a point outside the shape.
// This is how we define a circle as a mathematical function
const radius = 0.5
const circle = length(uv).sub(radius)

// The circle itself is just a float with a range of 0 to 1
// circle will be 0 at the center and then range to 1 at the outer edge of the coordinate space
const finalColor = vec3(circle)
In 2D contexts you can define simple primtives such as squares, circles, diamonds, etc and combine them to create more complex shapes. In 3D contexts with depth defined you can start to apply things like complex lighting and raymarching. Getting the hang of defining and combining shapes with SDFs is a genuine super power in creative coding.
Key takeaways
I've talked a bit about creating and combining shapes, but it's really important to understand shapes are not the end of it.
With shaders, the majority of the time we're working with values, and value ranges. A lot of the cool effects we can create are the results of combining different mathematical functions and operations, then using that output in different ways: as a mask, input, feedback, or just simply coloring it.
Starting to understand the relationship between shapes and how they map to a range of values was a major unlock for me when learning to code shaders. By the end of this section, you'll have a good understanding of why these things are so powerful so you can go to the next level with your shaders.
Setup
- Boilerplate ProjectFull project boilerplate for creative coding with React Three Fiber and WebGPU. Everything you need to start building.
- WebGPU SceneWebGPU scene boilerplate for React Three Fiber creative coding projects. Jump straight into building with TSL shaders.
- Sketch ComponentTemplate React component for building creative coding sketches with Three.js and TSL. Copy, paste, start creating.
- Color Space CorrectionA composable component that sets the renderer's outputColorSpace to LinearSRGBColorSpace and disables tone mapping.
import { Canvas } from '@react-three/fiber'
import { WebGPUScene } from '@/components/canvas/webgpu_scene'
import { WebGPUSketch } from '@/components/canvas/webgpu_sketch'

export const Scene = ({ children }) => {
  const ref = useRef(null)

  return (
    <main
      ref={ref}
      style={{
        position: 'relative'
        width: '100%',
        height: '100%',
      }}
    >
      <Suspense fallback={null}>
        <Canvas
          style={{
            position: 'fixed',
            inset: 0,
            pointerEvents: 'none',
          }}
          eventSource={ref}
          eventPrefix='client'
        >
          {children}
        </Canvas>
      </Suspense>
    </main>
  )
}

const Sketch = () => {
  const sketchNode = {}

  return (
    <WebGPUScene>
      <WebGPUSketch colorNode={sketchNode} />
    </WebGPUScene>
  )
}
Implementation
We're going to focus on creating some simple shapes and combining them to get the hang of how to use SDFs. Then, we'll look at some more complex shapes and how to break them down into their simpler parts.
Simple shapes
- SDF Shape FunctionsSigned Distance Functions (SDFs) for 2D and 3D shapes. Essential primitives for shader programming and raymarching.
- Screen Aspect UVTSL function that adjusts UV coordinates for screen aspect ratio. Fixes distortion in shaders with one function call.
Creating novel shapes by combining simple primitives is something that can bring a lot of visual interest and complexity to your shaders. We can take simple primitives like a circle, or a square and combine them in different ways to create more complex shapes
In the SDF Shapes utility, I've provided a set of functions (translated from this article by Inigo Quilez) that we can use to create these simple shapes, then use different operations to combine them.
// As these shapes are defined in the same coordinate space, they will be in the same range of values.
// The values for 'c' and 's' will be between 0 and 1, and will range from 0 at the center, to 1 at the edge.
const c = sdSphere(_uv).toVar()
const s = sdBox2d(_uv, 0.1).toVar()

// Subtract the box shape from the circle shape. The result here will appear "cross shaped" as the overlap between the two shapes tends towards 0
const result = c.sub(s).toVar()

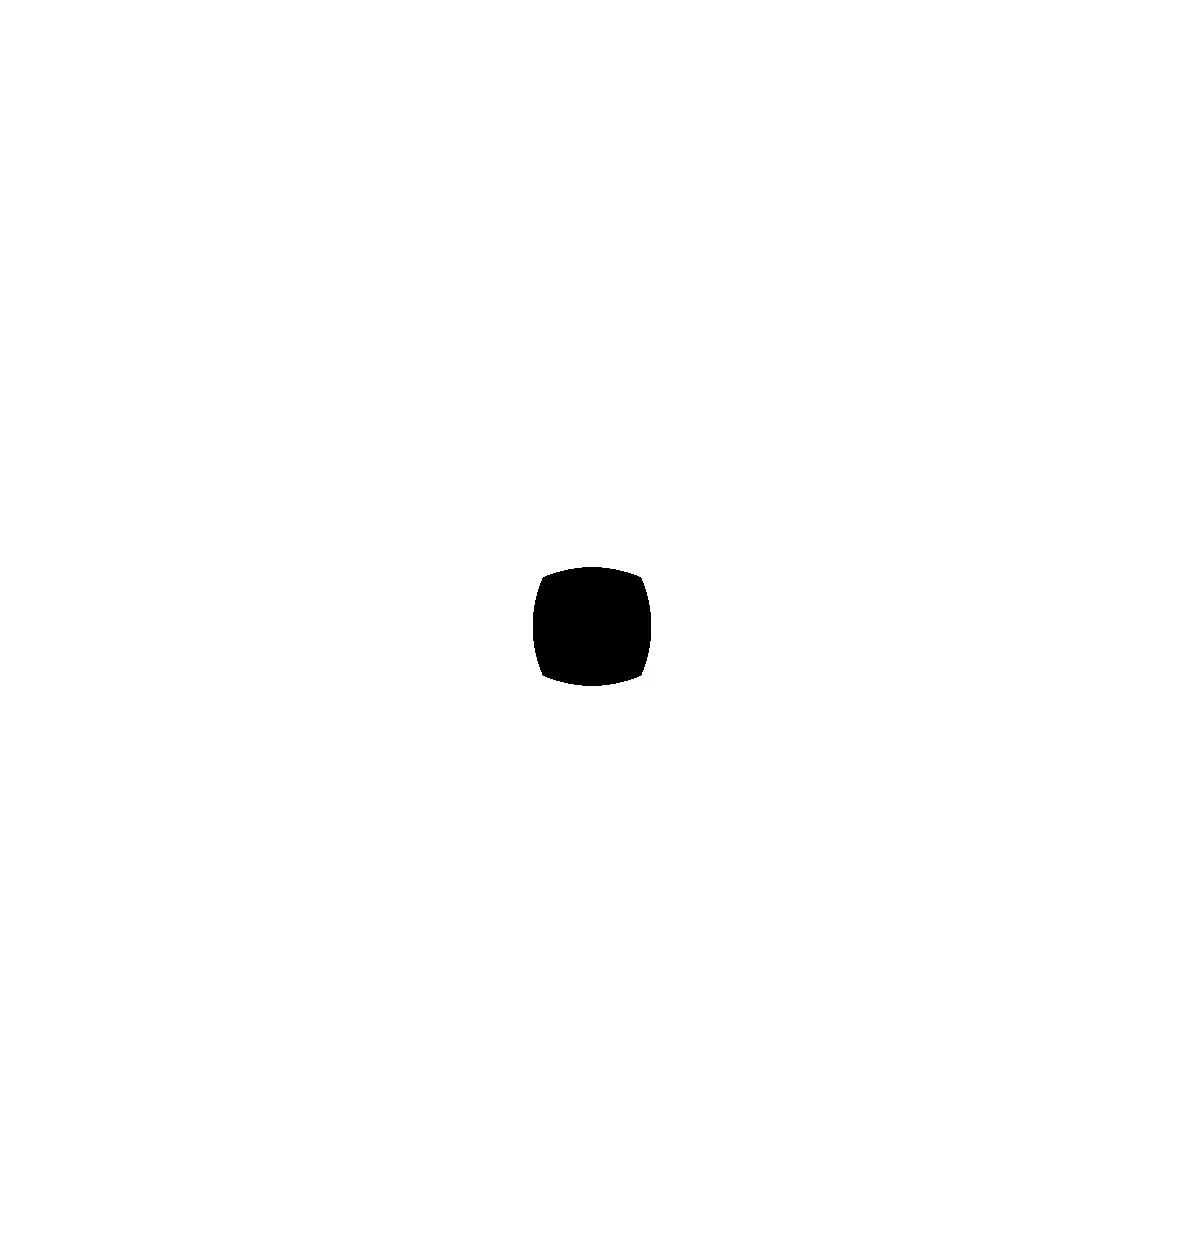
// Add the box shape to the circle shape. The result here will appear to be a small, rounded square as the overlap between the two shapes tends towards 1
const result = c.add(s).toVar()

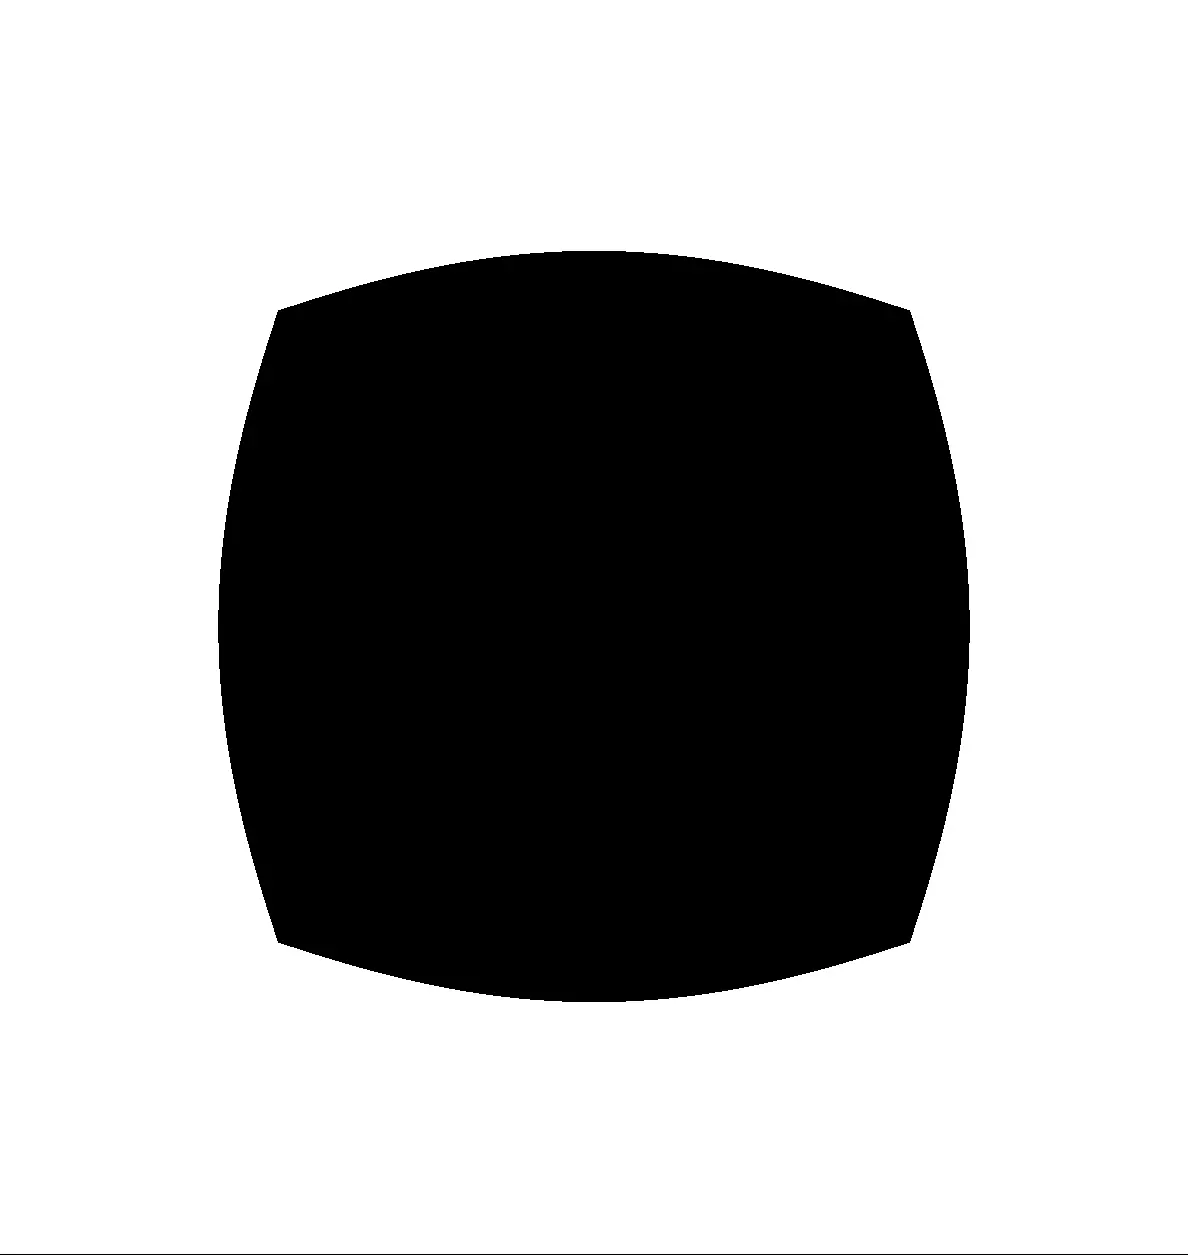
// Multiply the box shape by the circle shape. The result here will appear to be a larger rounded square as the overlap between the two shapes is more pronounced towards 0
const result = c.mul(s).toVar()

// Step the result to create a sharp edge
result.assign(step(0.1, result))

// Note that we can "invert" the result by swapping the arguments to the step function - this is quite similar to doing a oneMinus() operation on the result
result.assign(step(result, 0.1))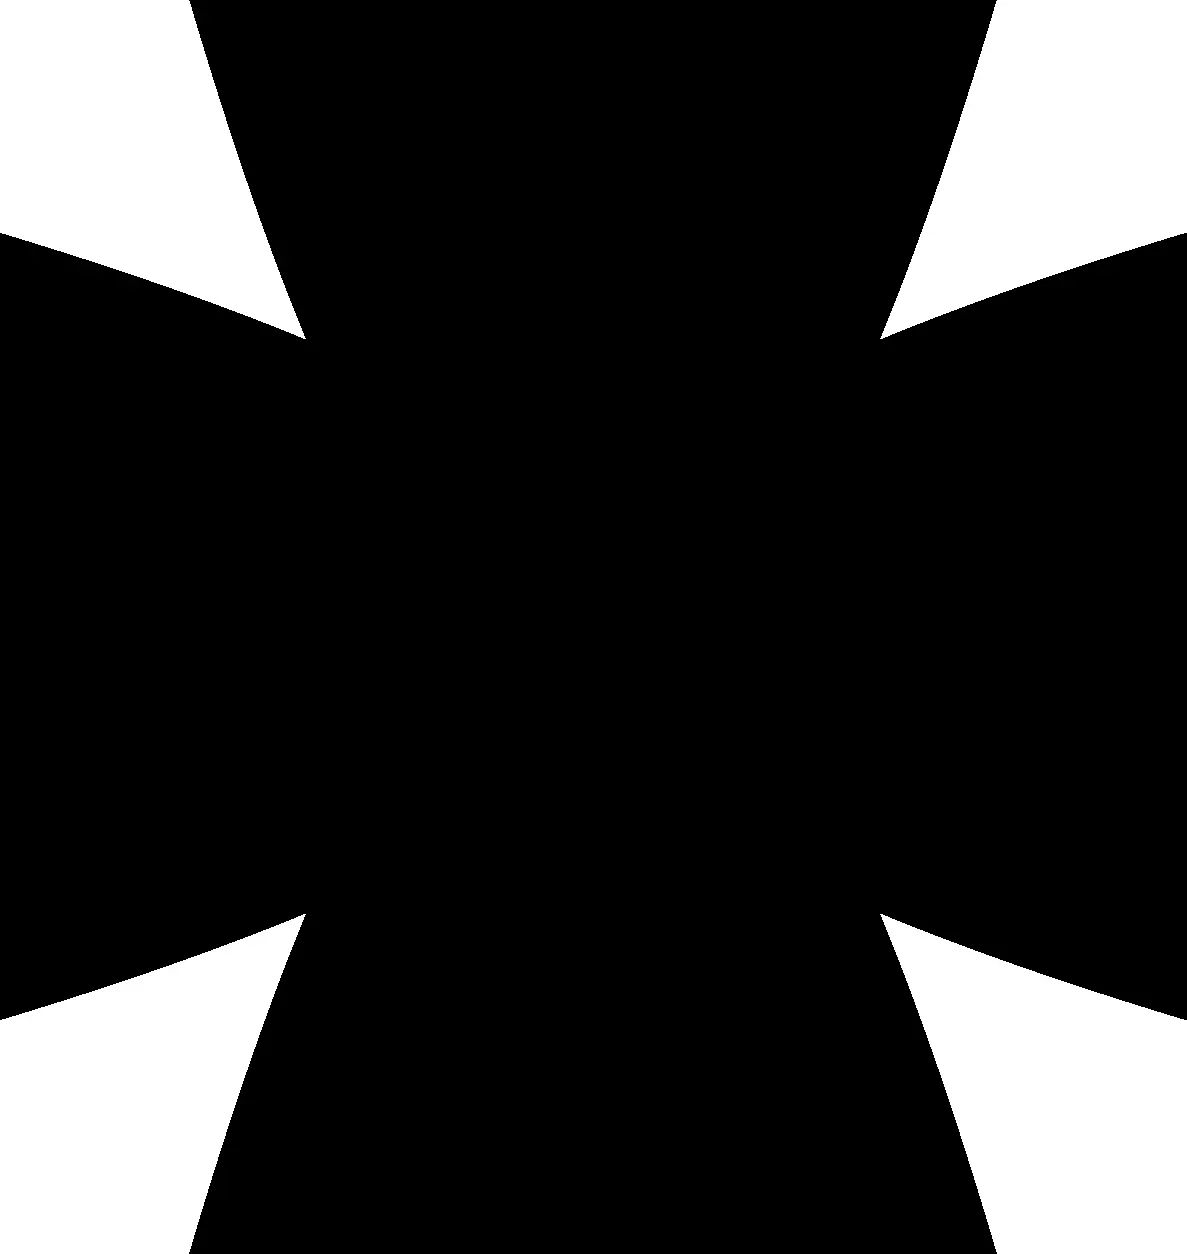
What to practice
It can be a good exercise to take each of the SDF functions from SDF Shapes and experiment with different operations to create more complex shapes. This is a good way to get a feel for how you can use different shapes and functions to achieve different results. The more you practice this, the more you'll be able to break down complex shapes into their simpler parts and then apply this understanding to other techniques.
Note - there are many ways to get the result you're after depending on your skill level and competence with maths. This is just one way to do it.
Complex shapes
- Screen Aspect UVTSL function that adjusts UV coordinates for screen aspect ratio. Fixes distortion in shaders with one function call.
- SDF Shape FunctionsSigned Distance Functions (SDFs) for 2D and 3D shapes. Essential primitives for shader programming and raymarching.
We're going to go on a bit of a journey here in this long section. I think breaking down how some more complex shapes and patterns are created is a good way to start to think about geometry. Each of these sketches here breaks down a futuristic glyph I made for a visual sequencer project. Creating these actually gave me an excellent appreciation for how powerful this technique is.
These shapes and patterns can be animated, scaled to any size, used on their own or in combination with other techniques. Again, this is a really long section, so if you're interested in skipping it, head straight on to the Experimentation section below.

Each of the following functions create one of the complex shapes in the set above.
Experiments
We can do a lot with the simple shapes we've created - interesting organic shapes, incredible patterns with noise and leaning a lot more into repetitive patterns.
Amorphous shapes
- Screen Aspect UVTSL function that adjusts UV coordinates for screen aspect ratio. Fixes distortion in shaders with one function call.
- SDF Shape FunctionsSigned Distance Functions (SDFs) for 2D and 3D shapes. Essential primitives for shader programming and raymarching.
- SDF OperationsSDF operations for complex shapes: boolean ops, smooth blending, and transformations. Combine primitives into intricate forms.
We've seen the sorts of things we can do with simple operations such as .add(), .sub(), and .mul(), but we can also take things further to create really interesting, weird, organic, gloopy shapes - things that would otherwise be extremely difficult to create in other contexts. I can't imagine trying to build this sort of thing using SVG shapes for instance.
Smooth minimum
We're going to utilise a smooth minimum function - popularised by legends like Inigo Quilez in his Smooth Minimum Article. This is essentially a min function that smoothly interpolates between the two inputs given a smoothing factor. We can use this to combine our shapes and then play around with how much the shapes blend.
export const sminSandbox = Fn(() => {
  // Get our aspect-correct UVs
  const _uv = screenAspectUV(screenSize)

  // Multiply the time by 0.1 to slow down the animation
  const _time = time.mul(0.1)

  // The oscSine() TSL function gives us an oscillating value between 0 and 1 using time. This is equivalent to sin(_time).mul(0.5).add(0.5)
  const s = oscSine(_time)

  // We're using the remap() function to remap the sine value to a range of 0 to 0.15. This is equivalent to s.mul(0.15), but it's good to demonstrate
  const smoothing = remap(s, float(0.0), float(1.0), float(0.0), float(0.15))

  // Create a base color to return - note the .toVar() function here. This is a TSL function that converts the value to a variable so we can assign it later
  const finalColor = vec3(0.0).toVar()

  // Create our shapes - 3 circles, and a square
  const sdC1 = sdSphere(vec2(_uv.x.add(0.1), _uv.y.sub(0.2)), 0.15).toVar()
  const sdC2 = sdSphere(vec2(_uv.x.sub(0.2), _uv.y.sub(0.1)), 0.08).toVar()
  const sdC3 = sdSphere(vec2(_uv.x.sub(0.23), _uv.y.add(0.22)), 0.12).toVar()
  const sdB1 = sdBox2d(vec2(_uv.x.add(0.15), _uv.y.add(0.26)), 0.03).toVar()

  // Combine the shapes using smin() and our animated smoothing factor
  const p = smin(sdC1, sdC2, smoothing).toVar()

  // Combine the result from the first operation, with the third circle
  p.assign(smin(p, sdC3, smoothing))

  // Combine the result from the first operation, with the square
  p.assign(smin(p, sdB1, smoothing))

  // Step the result to create a sharp edge
  p.assign(step(0.1, p))

  finalColor.assign(p)

  return finalColor
})
What to practice
This sandbox gives a good foundation for playing around with different shapes and operations. You can practice creating different shapes and volumes - try using sdDiamond or sdRing - manipulating where they appear on the screen by messing around with their positions (add or subtract from _uv) and then combining them using smin or smax. The results that you can get can be really interesting.
When we get to the Raymarching section, you'll get to see how we can extend this technique into a third dimension to give those really amazing Metaball type effects.
Masking effects
- Screen Aspect UVTSL function that adjusts UV coordinates for screen aspect ratio. Fixes distortion in shaders with one function call.
- SDF Shape FunctionsSigned Distance Functions (SDFs) for 2D and 3D shapes. Essential primitives for shader programming and raymarching.
- Cosine PaletteGenerate procedural color palettes with cosine functions. Create smooth, vibrant gradients mathematically.
- Bloom Edge PatternTSL function for glowing edge patterns and bloomed outlines. Add luminous effects to your shaders instantly.
- Noise FunctionsProcedural noise functions: Perlin, Simplex, FBM, and more. Add organic randomness and variation to your shaders.
Because we're working with number ranges in shaders, we can take advantage of this unique trait to create really interesting masked, blended and occluded effects. There's something truly exhilarating about being able to take these discrete visualisations and effects and essentially mix them together. It's something that can be extremely difficult to do in other mediums, but given a little bit of knowledge and time, you can unlock truly unique results.
One of my favourite sketches from Genuary 2025 was number 11 - Impossible Day. It was a great opportunity to take something I was really inspired by (in this instance the amazing visual work of Sunnk) and create something that was my own by blending between two different effects.
So, in this example, I'm going to break down the Genuary 11 sketch and show you how I created it to give you an idea of one of the many ways you can use masking to create interesting effects.
Where to start
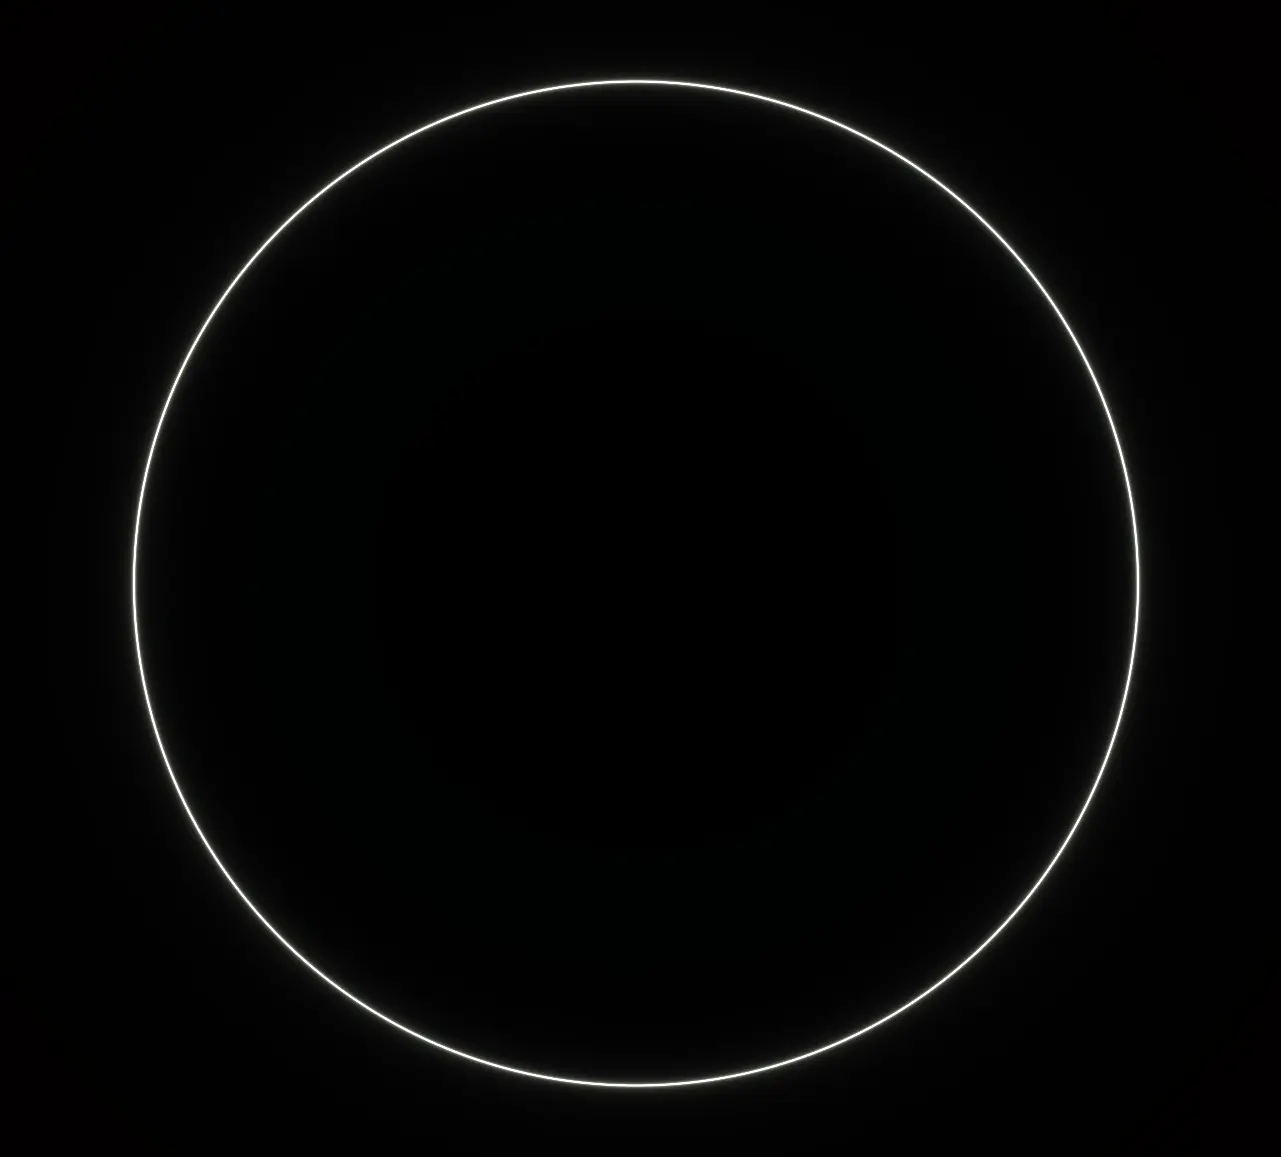
At its heart, the sketch is a circle that is bent, or disturbed by noise in specific places. So, where I would normally start is by creating the geometry. I know that at some point I'm going to want to layer this effect, so I'm going to create a loop to allow me to do this.
export const genuary11 = Fn(() => {
  const _uv = screenAspectUV(screenSize)

  const a = vec3(0.5, 0.5, 0.5)
  const b = vec3(0.5, 0.5, 0.5)
  const c = vec3(1.0, 0.7, 0.4)
  const d = vec3(0.0, 0.15, 0.2)

  const finalColor = vec3(0.0).toVar()

  // @ts-ignore
  Loop({ start: 0, end: 15, type: 'float' }, ({ i }) => {
    // This uses the `bloomEdgePattern` function to create a shape with a bloomed edge. I've broken this out just to give an idea of what's going on
    const shape = sdSphere(_uv, 0.4).toVar()
    shape.assign(abs(shape))
    shape.assign(pow(div(0.0001, shape), 1.1))

    // Color the result here - we're going to base this on a mask later
    const col = cosinePalette(sdSphere(_uv).add(i).add(time.mul(0.25)), a, b, c, d)

    // It's important that we .addAssign() here. This will allow us to create multiple shapes together
    finalColor.addAssign(col.mul(shape))
  })

  return finalColor
})
Applying noise
Now that we have the basic shapes, I want to apply some noise to it to give that feeling of chaos. Think of it like an electric current coursing over these strands. I'm going to use the simplexNoise3d from Noise Functions to create some noise and then apply it to the shape.
export const genuary11 = Fn(() => {
  const _uv = screenAspectUV(screenSize)

  const a = vec3(0.5, 0.5, 0.5)
  const b = vec3(0.5, 0.5, 0.5)
  const c = vec3(1.0, 0.7, 0.4)
  const d = vec3(0.0, 0.15, 0.2)

  const finalColor = vec3(0.0).toVar()

  // @ts-ignore
  Loop({ start: 0, end: 15, type: 'float' }, ({ i }) => {
    // Determine the direction the noise is moving in. This is a vector that points from the center of the shape to the current pixel
    const direction = _uv.sub(c).toVar()

    // Normalize the direction to give us a unit vector
    direction.assign(normalize(direction))

    // Apply the noise based on the normalized direction. This will give us a value between 0 and 1
    const noise = simplexNoise3d(vec3(direction.mul(10.0).xy, time.mul(0.5).add(i)))

    // Multiply the direction by the noise and then by 0.04 to give us a value between 0 and 1
    const factor = direction.mul(noise).mul(0.04).xy

    // This uses the `bloomEdgePattern` function to create a shape with a bloomed edge.
    const shape = sdSphere(_uv.add(factor), 0.4).toVar()
    shape.assign(abs(shape))
    shape.assign(pow(div(0.0001, shape), 1.1))

    // Apply the palette to the shape - we do this based on the mask
    const col = cosinePalette(sdSphere(_uv).add(i).add(time.mul(0.25)), a, b, c, d)
    finalColor.addAssign(col.mul(shape))
  })

  return finalColor
})
Creating a rotating mask
In my final result, I want to have this current appear to move along the edge of the shape, not all at once. So, to do this, I'm going to create a mask that rotates around the shape, and then blend between the shape with no noise applied, and with noise applied using the mix function.
// This angle will constantly increase over time
const rotationAngle = time.mul(0.75)

// This is the domain that we're going to use to create the mask. We're going to rotate it around the center of the screen (_uv)
const rotatedDomain = _uv.add(vec2(sin(rotationAngle), cos(rotationAngle)).mul(0.3))

// Create a circular mask that takes our rotated coordinates. Multiplying these coordinates by 2 will "zoom out" to give us a smaller shape.
const mask = smoothstep(0.0, 0.75, sdSphere(rotatedDomain.mul(2.0), 0.01))
This is what this looks like just on its own before we blend. Just to give an idea of what we're working with.
From here, we can use the mask to blend between the two states. We do this directly in the loop.
export const genuary11 = Fn(() => {
  const _uv = screenAspectUV(screenSize)

  const a = vec3(0.5, 0.5, 0.5)
  const b = vec3(0.5, 0.5, 0.5)
  const c = vec3(1.0, 0.7, 0.4)
  const d = vec3(0.0, 0.15, 0.2)

  const finalColor = vec3(0.0).toVar()

  const rotationAngle = time.mul(0.75)
  const rotatedDomain = _uv.add(vec2(sin(rotationAngle), cos(rotationAngle)).mul(0.3))
  const mask = smoothstep(0.0, 0.75, sdSphere(rotatedDomain.mul(2.0), 0.01))

  // @ts-ignore
  Loop({ start: 0, end: 15, type: 'float' }, ({ i }) => {
    // Determine the direction the noise is moving in. This is a vector that points from the center of the shape to the current pixel
    const direction = _uv.sub(c).toVar()

    // Normalize the direction to give us a unit vector
    direction.assign(normalize(direction))

    // Apply the noise based on the normalized direction. This will give us a value between 0 and 1
    const noise = simplexNoise3d(vec3(direction.mul(10.0).xy, time.mul(0.5).add(i)))

    // Multiply the direction by the noise and then by 0.04 to give us a value between 0 and 1
    const factor = mix(direction.mul(noise).mul(0.04).xy, vec2(0.0), mask)

    // This uses the `bloomEdgePattern` function to create a shape with a bloomed edge.
    const shape = sdSphere(_uv.add(factor), 0.4).toVar()
    shape.assign(abs(shape))
    shape.assign(pow(div(0.0001, shape), 1.1))

    // Apply the palette to the shape - we do this based on the mask
    const col = cosinePalette(sdSphere(_uv).add(i).add(time.mul(0.25)), a, b, c, d)
    finalColor.addAssign(col.mul(shape))
  })

  return finalColor
})
This gives us our final result:
You can experiment here by changing the shapes, the mask or any of the noise parameters to get a more interesting result. Another sketch that I use this technique for is Genuary 25.
Iteration and domains
- Screen Aspect UVTSL function that adjusts UV coordinates for screen aspect ratio. Fixes distortion in shaders with one function call.
- SDF Shape FunctionsSigned Distance Functions (SDFs) for 2D and 3D shapes. Essential primitives for shader programming and raymarching.
- Cosine PaletteGenerate procedural color palettes with cosine functions. Create smooth, vibrant gradients mathematically.
One thing that took me quite a long time to get my head around with shaders is how they execute code. Coming from a traditional software development background, you go from understanding that functions execute once, in order, as you describe (very simplified). Once you get into shader programming, you start to understand that it's not just a function that runs once, it's a function that runs once for each pixel. This fundamental understanding can unlock a lot of things when you're experimenting with shaders. The problem then becomes - if every shader is running once for each pixel, how can we create repeating patterns?
The simple answer is that we need to define every shape in our shader, not just the one.
Now that I write that - it doesn't sound that difficult, but I felt like it required a really big shift in my own thinking to understand fully.
Genuary 17 Breakdown
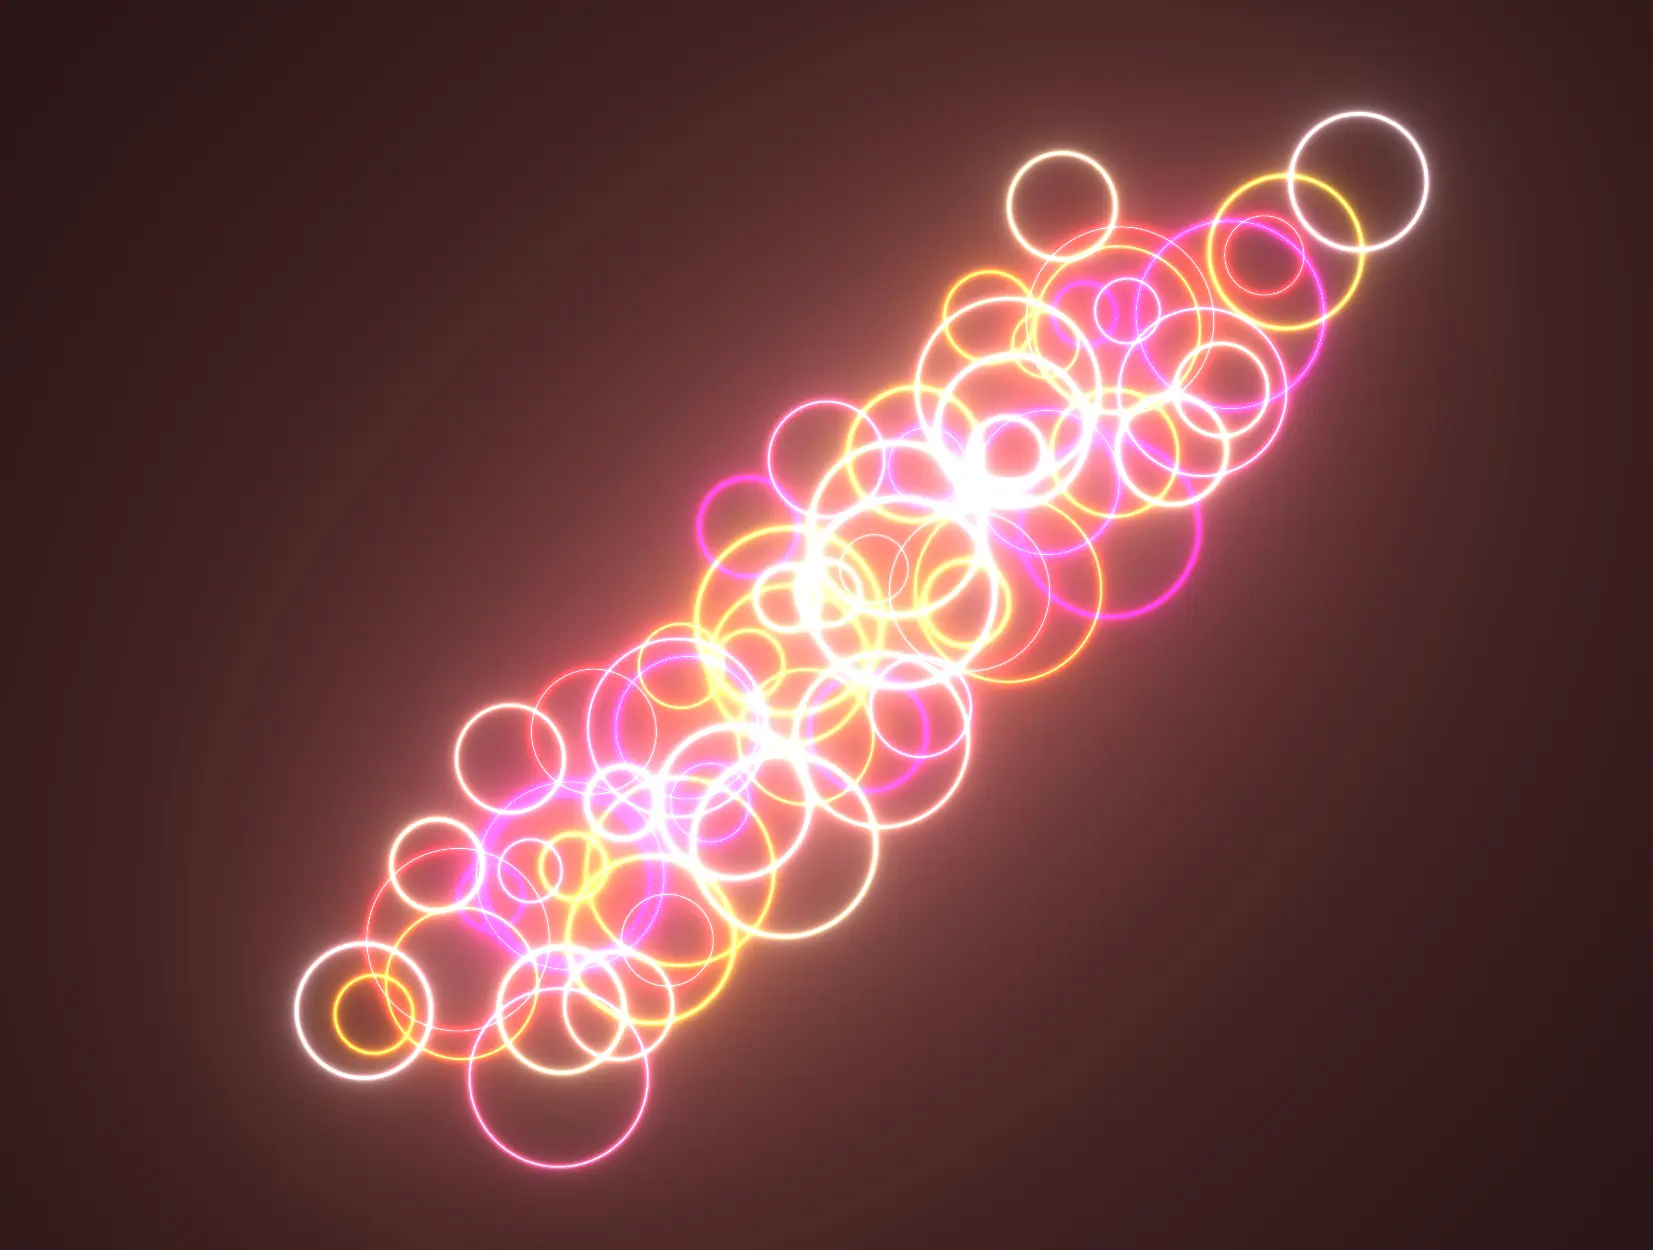
One of my favourite sketches from Genuary 2025 was number 17 - What if pi=4?. It heavily uses repetition to create a unique, organic looking set of shapes.
So, in this example, I'm going to break down the Genuary 17 sketch and show you how I created it to give you an idea of one of the many ways you can use masking to create interesting effects.
export const genuary17 = Fn(() => {
  const _uv = screenAspectUV(screenSize)
  _uv.addAssign(0.3)

  const a = vec3(0.5, 0.5, 0.5)
  const b = vec3(0.5, 0.5, 0.5)
  const c = vec3(1.0, 0.7, 0.4)
  const d = vec3(0.0, 0.15, 0.2)

  const finalColor = vec3(0.0).toVar()

  // This is the main conceit of this particular sketch. We're going to use a value of 4 for pi. This will give us a unique set of shapes that are not the same as the traditional circle.
  const _PI = float(4)

  // This is the really important part of the sketch here. We loop through 64 times, creating a shape for each iteration
  Loop({ start: 0.0, end: 64.0, type: 'float' }, ({ i: _i }) => {
    const i = float(_i).toVar()

    // Here, we manipulate our _uv coordinates with that value of PI, along with the iterator of the loop (this gives us greater variance) to create a rotating pattern
    // This gives our sketch the appearance of circles floating - bright neon bubbles hovering around the center
    const offset = vec2(sin(_PI.add(i).add(time.mul(0.5))), cos(_PI.mul(i).add(time.mul(0.5)))).sub(0.1)
    _uv.addAssign(offset.mul(0.1))

    const p = sdSphere(_uv, sin(i).div(2.0).add(1.0).mul(0.05)).toVar()

    // Again, we use the `bloomEdgePattern` function to create a shape with a bloomed edge.
    p.assign(sin(p))
    p.assign(abs(p))
    p.assign(pow(div(0.001, p), 0.9))

    const col = cosinePalette(i.add(time.mul(0.1)), a, b, c, d)
    finalColor.addAssign(col.mul(p))
  })

  return finalColor
})
Notes
- Practice creating interesting shapes and patterns out of simple primitives
- Experiment by using different shapes and smoothing functions to create more complex shapes
- Use masks to
blendbetween different effects to create truly unique results - Iteration is very powerful, but make sure you're not overusing it because it can be very computationally expensive
Utilities
- Boilerplate ProjectFull project boilerplate for creative coding with React Three Fiber and WebGPU. Everything you need to start building.
- Sketch ComponentTemplate React component for building creative coding sketches with Three.js and TSL. Copy, paste, start creating.
- Color Space CorrectionA composable component that sets the renderer's outputColorSpace to LinearSRGBColorSpace and disables tone mapping.
- Cosine PaletteGenerate procedural color palettes with cosine functions. Create smooth, vibrant gradients mathematically.
- Screen Aspect UVTSL function that adjusts UV coordinates for screen aspect ratio. Fixes distortion in shaders with one function call.
- SDF Shape FunctionsSigned Distance Functions (SDFs) for 2D and 3D shapes. Essential primitives for shader programming and raymarching.
- SDF OperationsSDF operations for complex shapes: boolean ops, smooth blending, and transformations. Combine primitives into intricate forms.
- Noise FunctionsProcedural noise functions: Perlin, Simplex, FBM, and more. Add organic randomness and variation to your shaders.


