Shape-shifting your shaders
Post-processing can transform a basic shader into something special, or completely weird. It's that final bit of spice you can add that can completely change the feel of what you've been working on.
I've built 8 new post-processing effects for Fragments. These are some of my favourite effects built in TSL that can dramatically alter your artwork. Some add texture, others shift colours, and some will transform your image into a completely different style.
The first time I really dipped my toes into post-processing was working on the heads-up-display (HUD) for a game I was building. It was something really simple: just a distortion effect to make the HUD feel like it was floating in front of the player, like it's part of a visor:
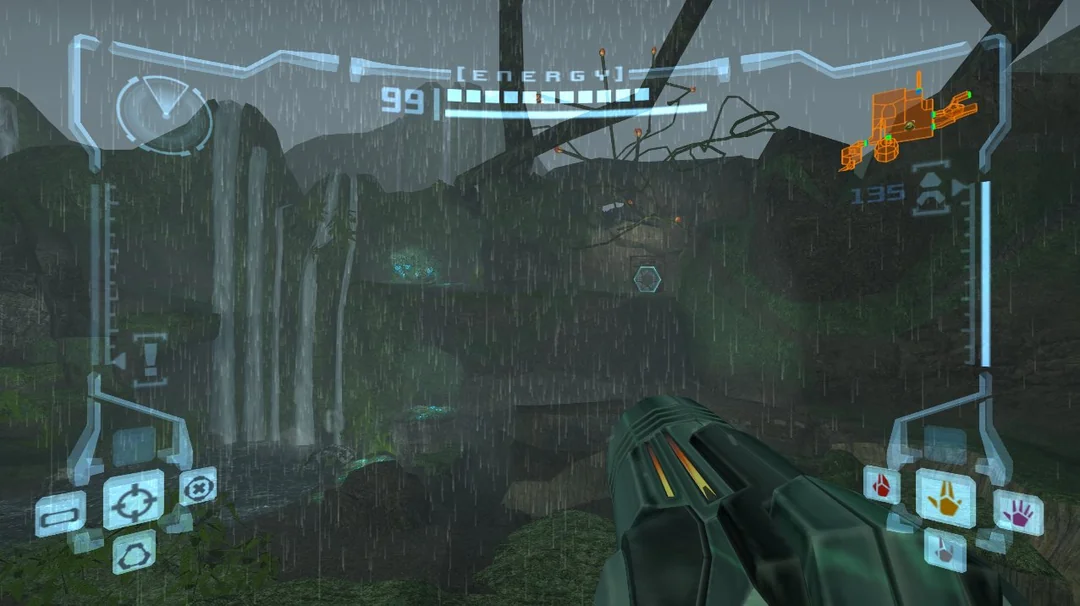
This little bend is very simple, but it gives such an amazing result - this opened the door for me to start exploring more post-processing effects.
What are they?
Post-processing happens after your main shader runs. Think of it like adding filters to a photo, but way more flexible.
The shader renders your scene first. Then the post-processing effect takes that result and transforms it. You can stack them, mix them, or use them solo.
If you want to learn more about post-processing, Maxime Heckel's article on Post-processing is absolutely brilliant, and a great starting point.
8 new effects in Fragments
Hopefully that's a pretty good introduction to this whole thing, so let's get onto the effects themselves:
CRT effect
An absolute favourite of mine - this brings back that old monitor look. Horizontal lines sweep across the screen with an optional barrel distortion. There are plenty of CRT effects that combine a ton of different aesthetic traits, and I think this one brings a nice feeling of retro nostalgia to your work.
You can control the line frequency, intensity, curvature, and sharpness. Dial it subtle or crank it up for full vintage vibes.
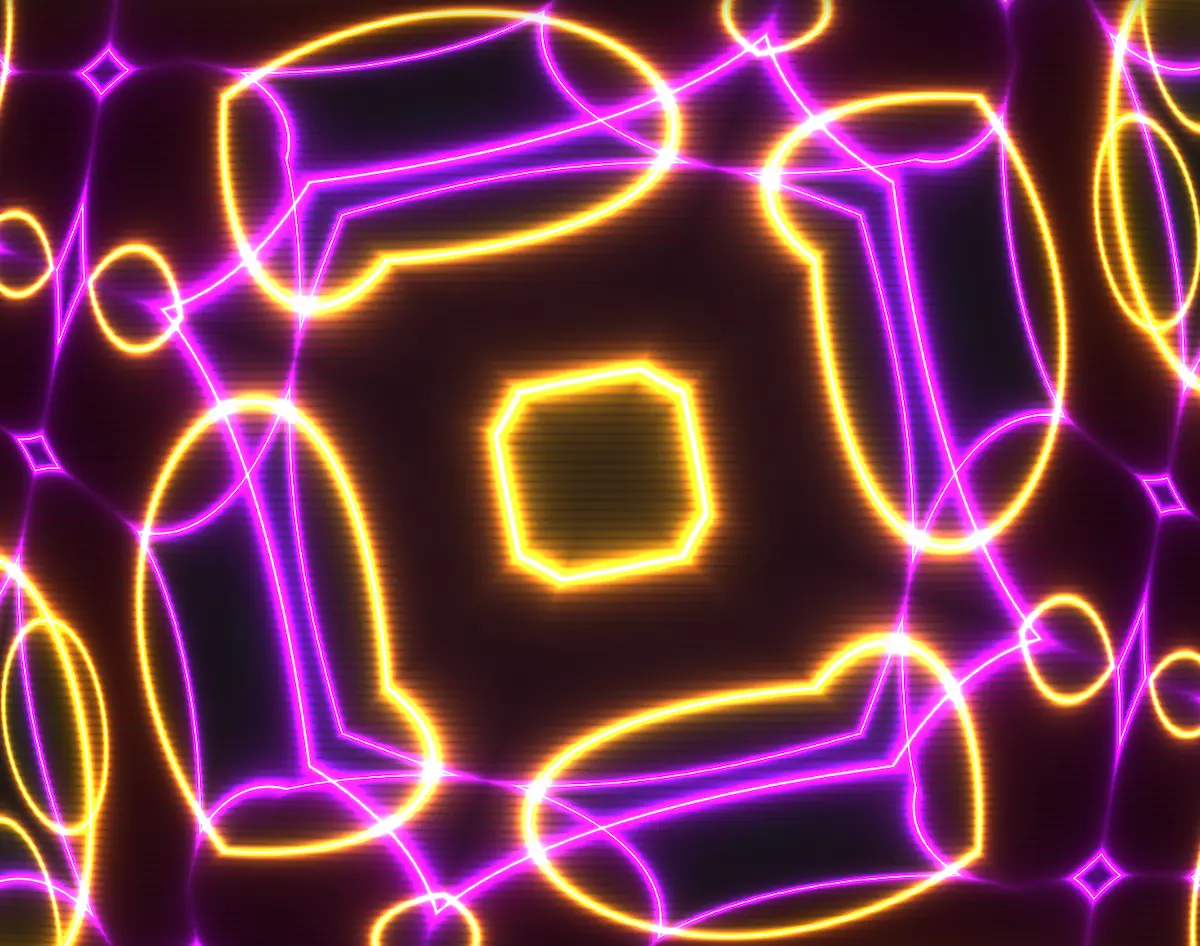
LED effect
I already wrote about making this effect and why it almost broke me - so if you're interested in more, take a look at that article. This effect works great for adding texture without overwhelming your original shader - I find it works best when used in conjunction with more of the Neon Effects.
You can control the intensity, zoom, exponent, and edge. I tend to make this a little more subtle in my work, but you can really crank it up if you want a lot of texture.
Chromatic aberration
Splits RGB channels apart to create that color-shift effect. Chromatic aberration is a common effect in photography and film, and it can be used to create a wide range of aesthetic effects. Can go radial from the center or directional. Makes things feel glitchy and adds movement even to static images.

The strength and direction are fully controllable. Start subtle for depth, push it hard for chaos.
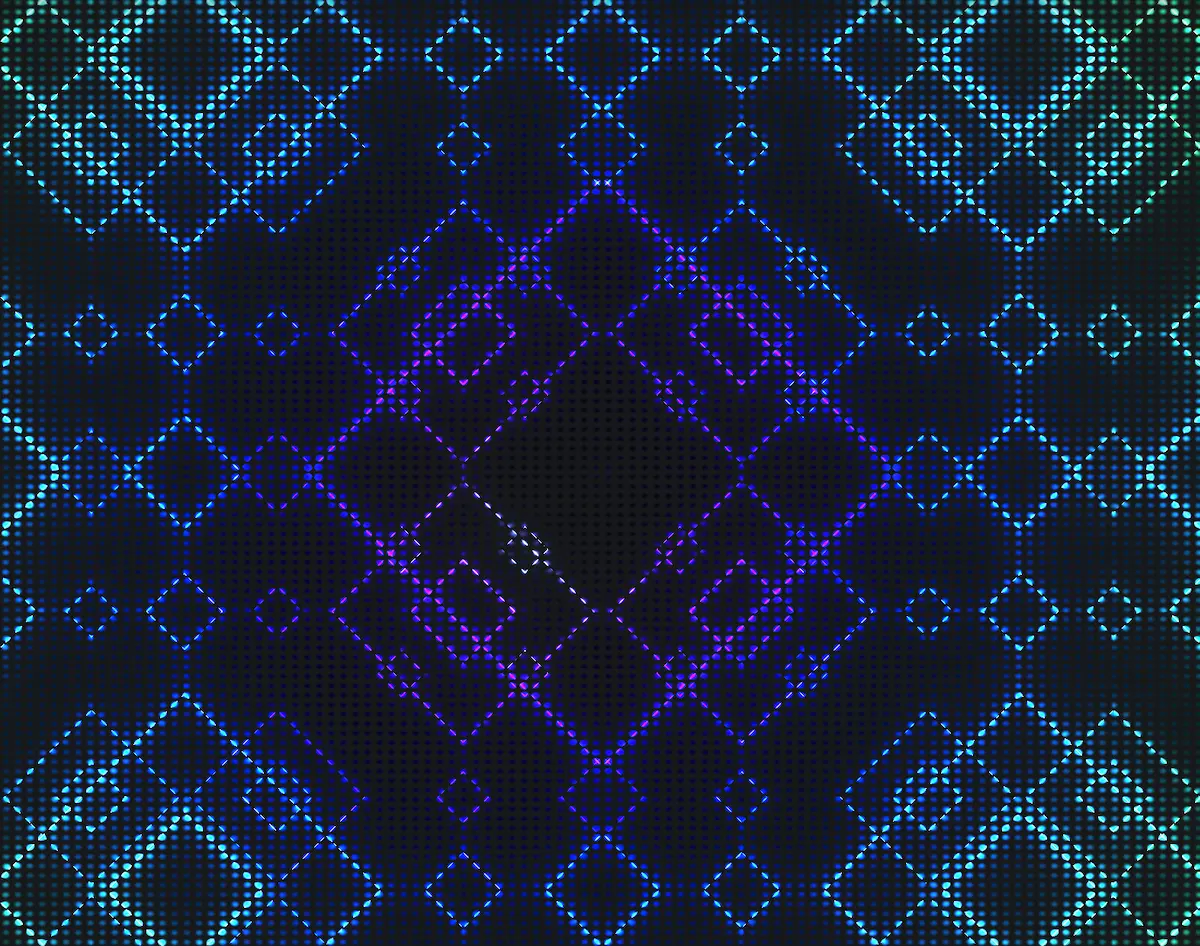
Dither effect
Dithering seems to be all the rage lately, and for good reason - it's a simple but effective way to add texture to your work. This effect uses an 8x8 Bayer matrix to reduce the number of colors in your image, creating a classic early computer graphics look.
The pixel size, color threshold, bias, and even an optional color are fully controllable. Great for making smooth gradients look crunchy and interesting.
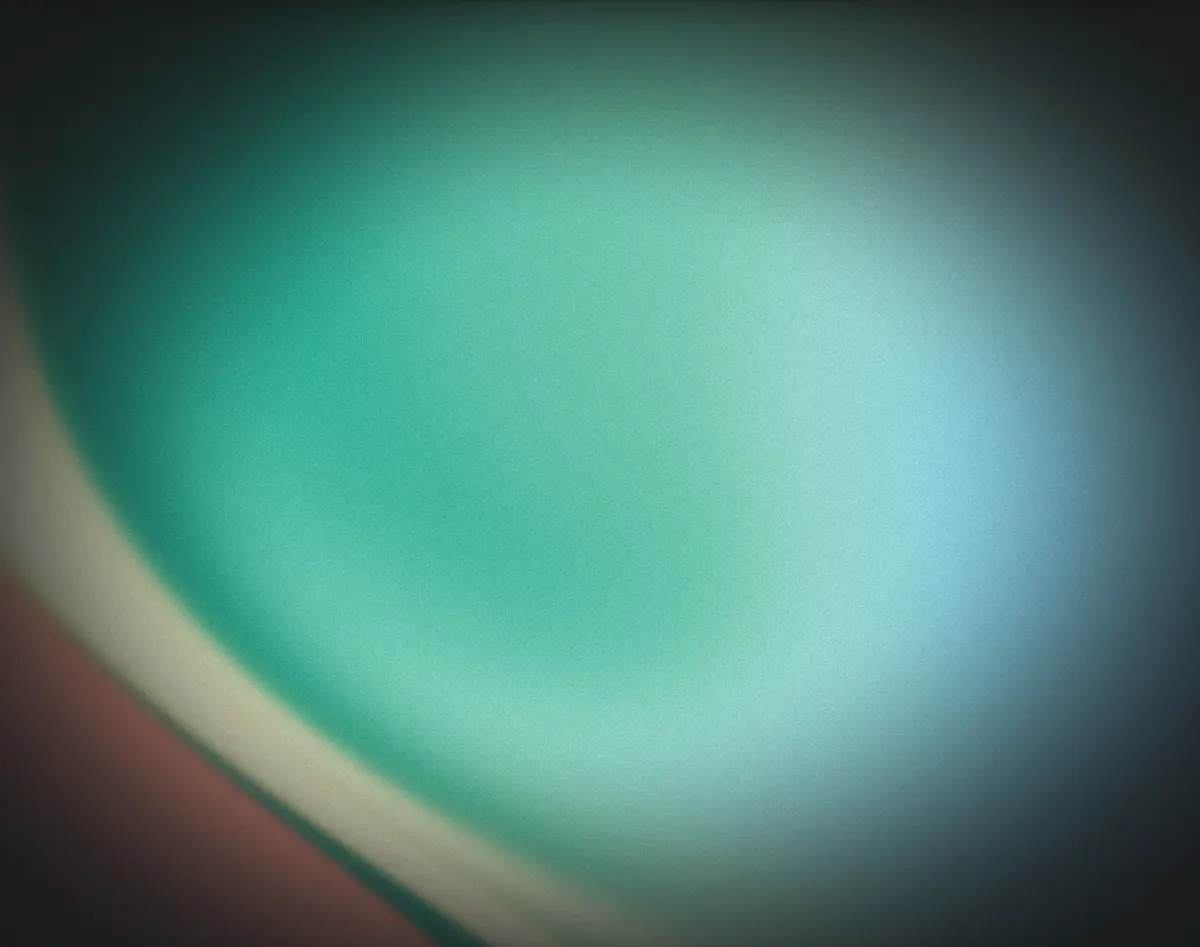
Grain texture
It's no secret that I crutch on this one - probably more than I should! Adds some grain texture to your shader - simple but effective for making digital work feel more organic. Works on literally everything. Just a touch can break up that too-clean digital look.
Control the intensity and scale to match your visual style. I use this one a lot for my mesh gradients, but it works on literally everything.
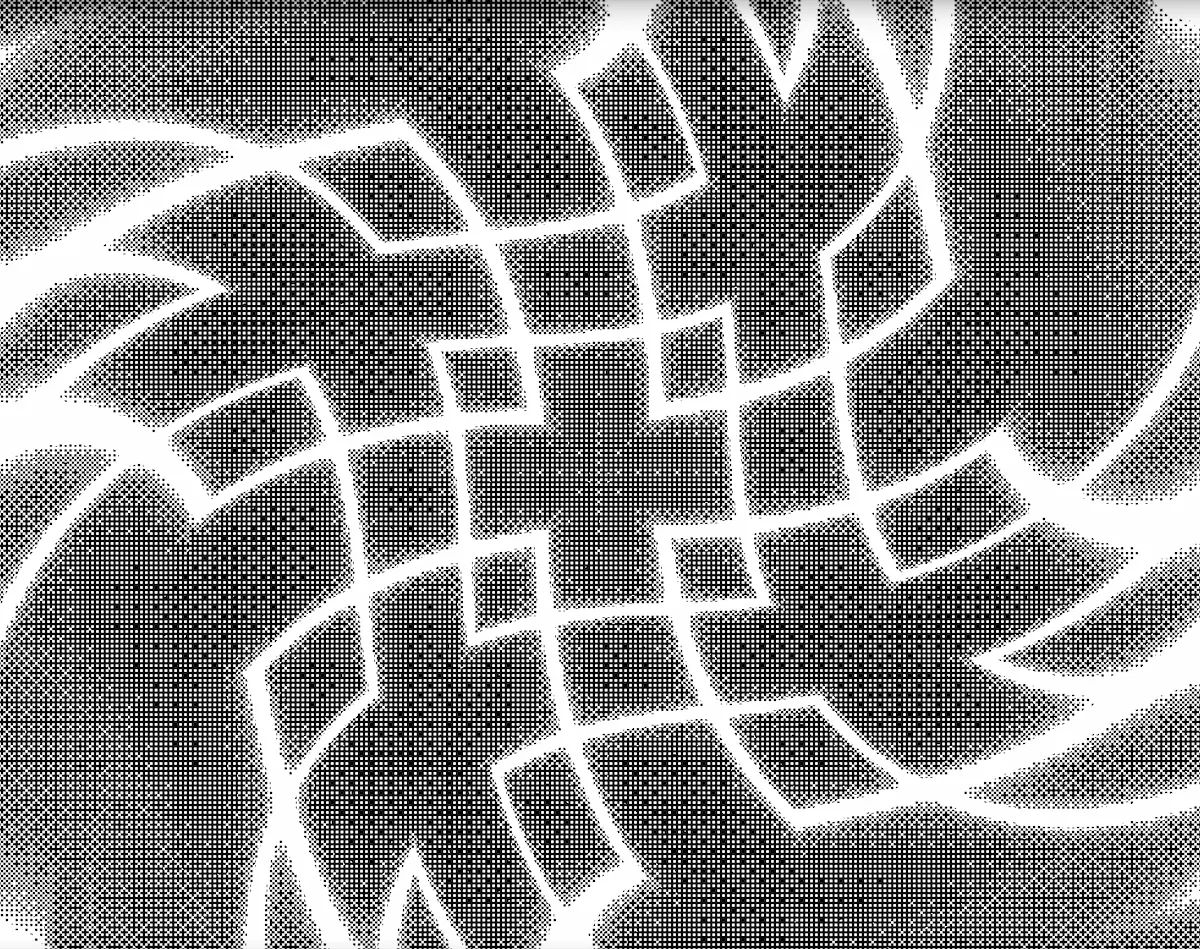
Halftone effect
Classic print effect with customizable dot patterns. Creates that comic book or newspaper aesthetic. It's surprisingly versatile and not just for retro work. I've been watching a lot of the Ducktales TV Show with my 3 year old lately. They use this halftone effect to really stunning effect. I think it looks amazing.
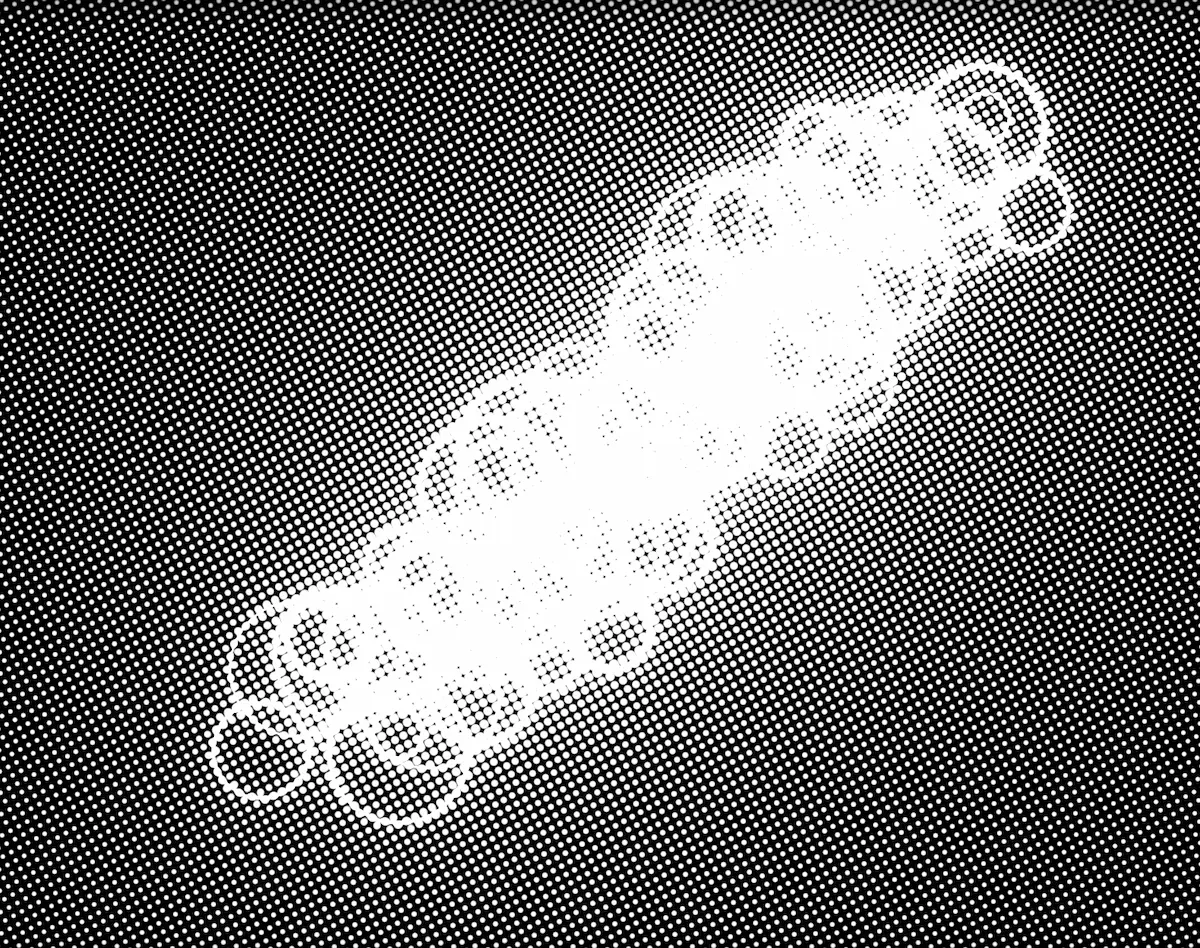
Adjust the frequency, angle, smoothness, and even an optional color to match your visual style.
Pixellation effect
Makes your shader blocky and pixelated. Perfect for 8-bit aesthetics or artistic chunky looks. I think this looks amazing when used in places there are larger blocks of color, like gradients or solid colors where you don't mind some finer detail being lost. Combine this with some masking (see Geometric Shapes) and you can create some really interesting effects.
![]()
Sometimes less resolution is more interesting. Control the pixel size to find your sweet spot.
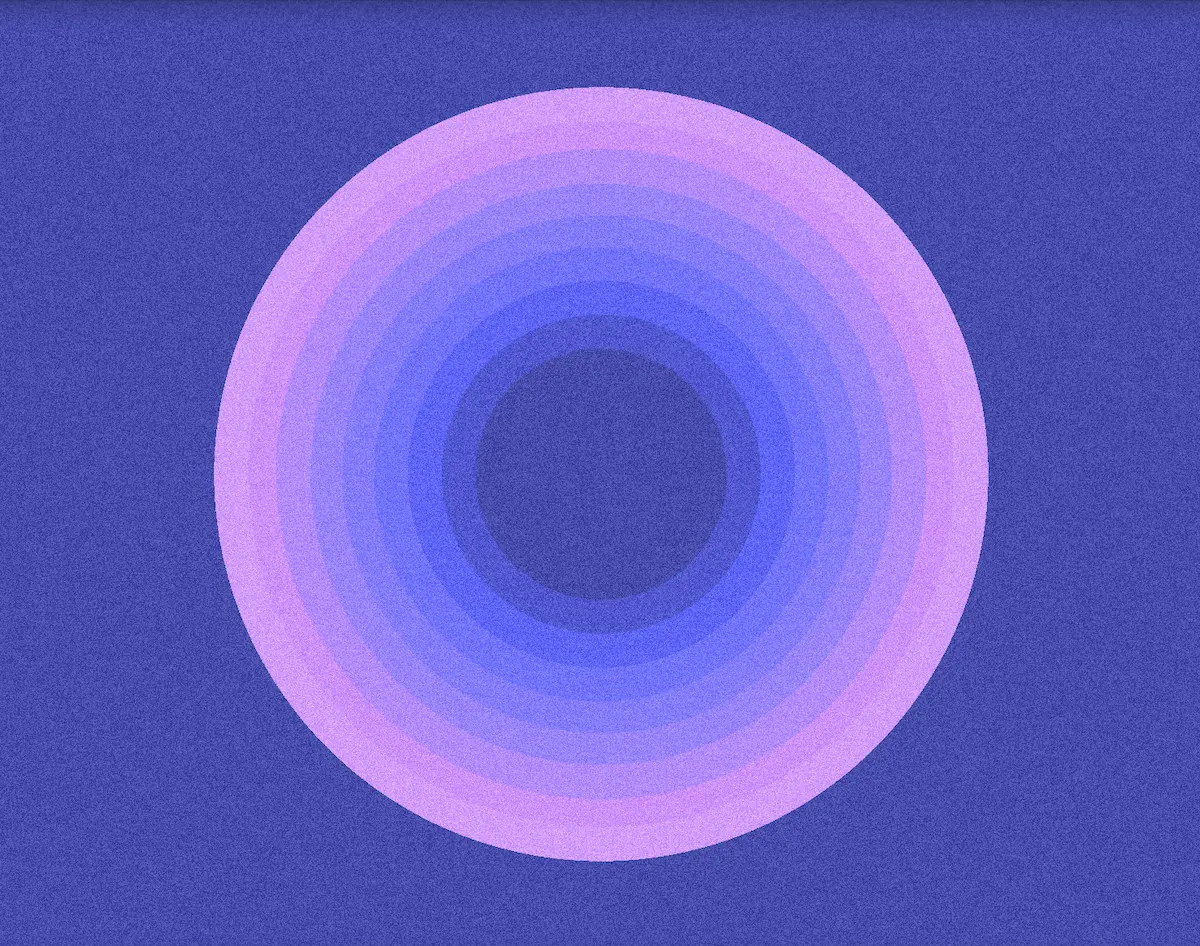
Vignette effect
This is the most subtle effect here, but powerful for composition. Darkens the edges to draw focus to the center. Darkens the edges to draw focus to the center. The most subtle effect here, but powerful for composition.
Adjust the strength and falloff curve to control how dramatic the effect is.
How to use them
All effects are written in TSL, so they'll work everywhere. Drop them into your shader pipeline as post-processing passes. Stack them together or use them individually. I've created a really simple Post-Processing Component that can be dropped into your R3F projects. It's really just a simple wrapper, so can be adapted to your Vanilla projects as well.
Each effect is a function that takes your rendered scene and transforms it. The code is clean, documented, and ready to customize.
Why build these?
Every shader I make needs something different to feel complete. Sometimes it's grain, sometimes it's chromatic aberration. Having these ready to go saves hours.
Building them also taught me a ton about how screens display color, how our eyes perceive patterns, and what makes digital work feel tactile.
Plus they're just fun to play with.
What's next
These effects are live in Fragments now. More coming as I discover new creative problems to solve.
Want to try them? Check out the post-processing collection in Fragments. Full source code, live examples, and all the parameters explained.
If you'd like to unlock Fragments and get access to the full collection of techniques, utilities, and over 120 shaders with full breakdowns, you can sign up here.